
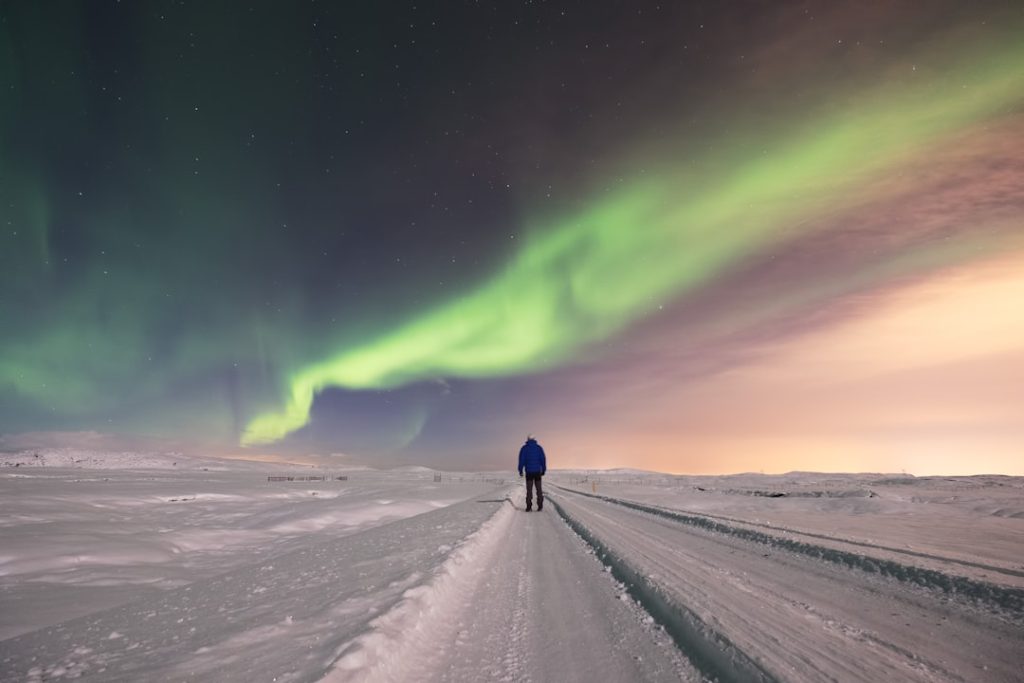
How To Plan A Trip To See The Northern Lights: this guide explains the practical choices, steps and tradeoffs before you act.
Featured photo by Christian Cueni on Unsplash.
The northern lights are never guaranteed, and every seasoned aurora chaser will say the same thing before anything else: the single biggest factor in whether you see them isn’t luck, it’s how many nights you gave yourself. Book two nights and the odds are genuinely against you. Book five, and cloud cover on three of them still leaves real chances on the other two.
Give the trip enough nights to survive bad weather
Clouds, not darkness, are usually what ruins a northern lights trip — a traveler can do everything else right and still lose several nights straight to snow-filled cloud cover with no aurora visible at all. That’s exactly why trip length matters more than almost any other planning decision: at least three to five nights, ideally in the Arctic itself rather than just north of the aurora belt, meaningfully improves the odds that at least one of those nights is clear.
A two-night trip isn’t wrong, exactly — it’s just a bet with worse odds, and worth going in understanding that.
Pick a location by latitude and sky, not just scenery
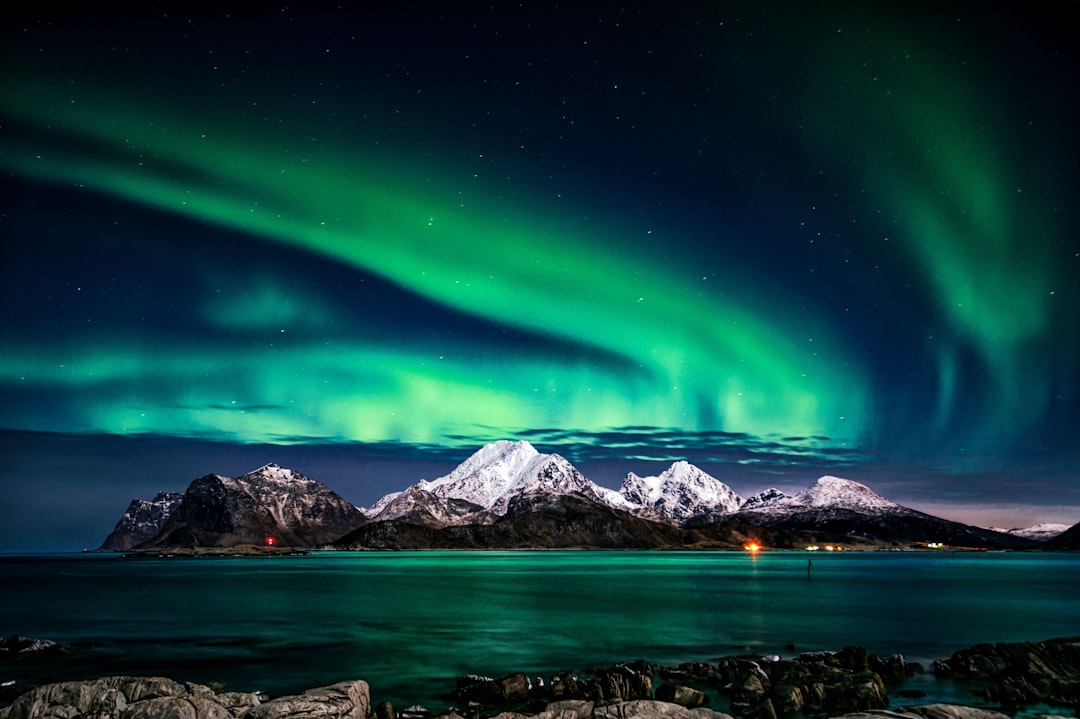
Two location mistakes show up constantly: staying too far south, where destinations like Oslo or Bergen only see the aurora a handful of times a year, and — less intuitively — going too far north, where the lights can pass directly overhead and effectively disappear from view. The sweet spot is the Arctic aurora belt itself: Northern Norway, Iceland, Swedish or Finnish Lapland, Fairbanks in Alaska.
Within that zone, favor open, flat, elevated terrain over mountainous areas with limited sky visibility — a wide-open view of the horizon matters more than a dramatic backdrop when the actual goal is seeing lights across as much sky as possible.
Time the trip for real darkness, not just a “winter” trip
The aurora needs genuinely dark skies to be visible, which rules out the brightest months even in far-northern destinations — roughly mid-April through early August is too light most nights, regardless of solar activity. Late fall through early spring is the real viewing window, with December and January carrying the tradeoff of the year’s harshest storms and lowest visibility odds on any given night.
Get away from city lights, even a short distance
Light pollution washes out all but the strongest aurora displays, which is why a hotel in a city center is a weaker viewing position than a remote lodge or a guided countryside tour, even in an otherwise excellent destination. A local guided tour is worth the cost specifically for this: guides know which nearby dark-sky spots are actually accessible, which matters more than it sounds like it should on an unfamiliar, unlit road at night.
Use a real-time forecast app, and don’t rely on it alone
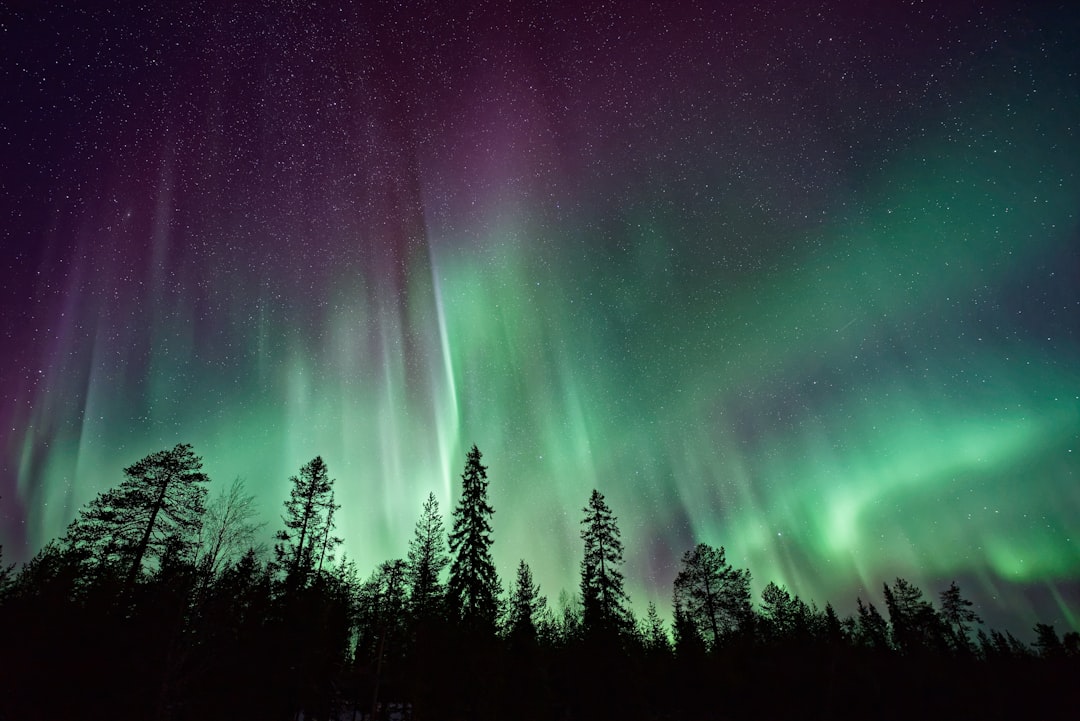
Aurora forecast apps (tracking the Kp index and cloud cover together) are genuinely useful for deciding which night, and which direction, to head out — but they’re a planning tool, not a guarantee. Checking an app from inside a warm hotel room isn’t a substitute for actually being outside and looking; several seasoned viewers specifically warn against over-relying on an app instead of getting under open sky and watching.
Dress for actively waiting, not a quick look
Giving up after fifteen minutes because of the cold is one of the most common ways people miss a display that shows up later. Arctic winter nights can hit well below freezing, and a real viewing session often means standing outside for two hours or more. Dress in proper cold-weather layers — the kind meant for standing still in extreme cold, not walking briskly through it — and treat the wait itself as part of the plan, not a failure of the trip.
Adjust your expectations for what the eye actually sees
Aurora photos online are often more vivid than what the naked eye perceives in the moment — the lights frequently appear as a greyish, shifting glow rather than the saturated green seen in long-exposure photography. That’s not a sign the trip failed; it’s simply how the phenomenon looks to human eyes versus a camera sensor, and knowing that ahead of time prevents a real sighting from feeling like a letdown.
Frequently asked questions
How many nights should I book for a northern lights trip?
At least three to five, ideally within the Arctic aurora belt itself. Cloud cover routinely ruins one or more nights even in good destinations, and a longer stay is the main way to buy back those odds.
What’s the best time of year to see the northern lights?
Late fall through early spring, when nights are genuinely dark. Mid-April through early August is typically too light, even in far-northern locations.
Do I need a guided tour to see the northern lights?
Not strictly, but a local guide’s knowledge of accessible dark-sky spots away from city light pollution meaningfully improves the odds versus DIY searching in an unfamiliar area at night.
Why do northern lights photos look more vivid than what I actually saw?
Long-exposure camera settings capture more color and light than the human eye perceives in real time — the lights often appear as a shifting grey-green glow to the naked eye rather than the saturated green in photos.
Odds, not guarantees — plan accordingly
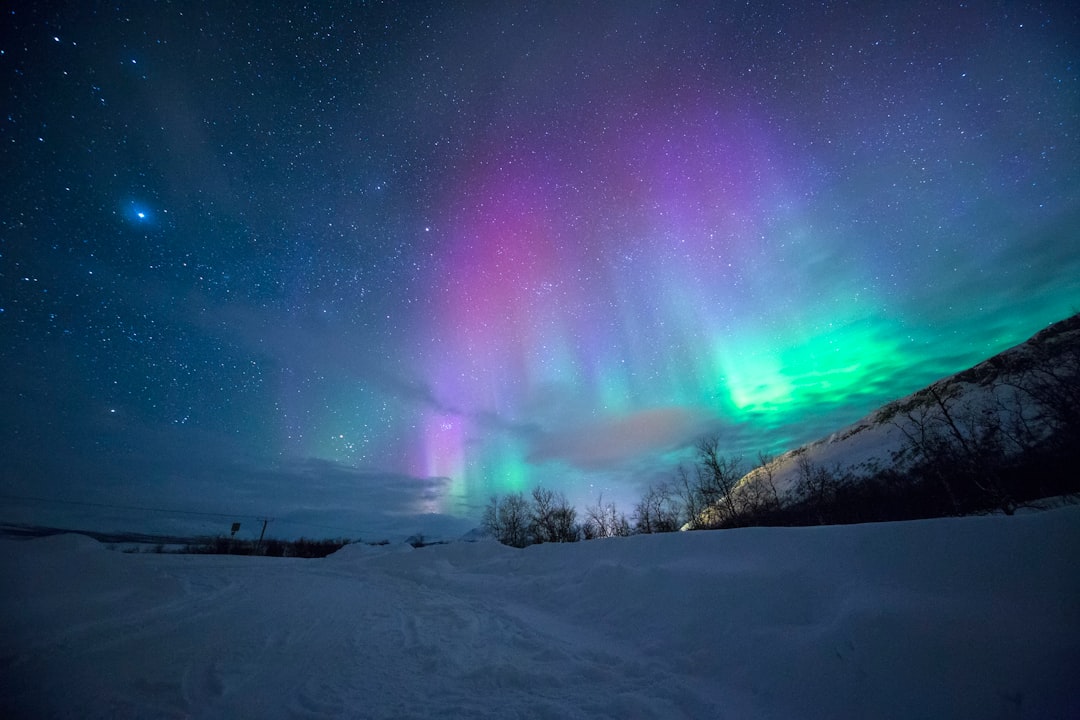
Nobody can promise clear skies or strong solar activity on any given night, but the trip variables that are controllable — nights booked, location within the aurora belt, distance from light pollution, and patience once you’re out there — meaningfully shift the odds. Plan around those, and treat an actual sighting as the payoff for having stacked the deck, not a stroke of luck. For the cold-weather packing side of this trip, see Lush Nomad’s winter travel packing guide.